CREATE FACILITY/GATED ESTATE
Take a Quick Tour!
This guided walkthrough will help you set up Unit Details, Listing Information, and Management Preferences step-by-step, ensuring all essential information is captured for effective property management.
Already familiar with the process? Feel free to skip the tour at any time.

Creation Progress Bar Overview
The progress bar offers a clear, step-by-step visual guide to track your progress as you create propety. It highlights each required section and shows how much you’ve completed, helping you stay organized and on track throughout the entire unit setup process.
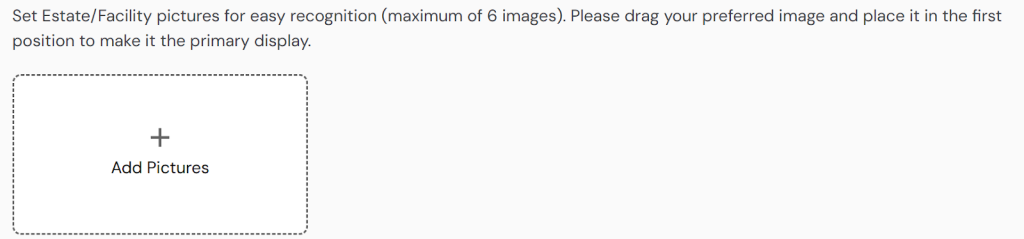
Property Picture Overview
Upload clear, high-quality images to visually represent the facility/estate for easier recognition within the platform. While not mandatory, adding pictures improves internal management and reference. You can upload up to 6 images and drag your preferred photo to the first position to set it as the default display image.
Category Overview
Choose the category that best describes the type of management you’re setting up – facility, or Estate. Selecting the correct category is essential, as it determines how your management will be organized and what features the system will provide for it. Proper classification ensures accurate setup and access to the tools relevant to your management.
Estate/ Facility Name Overview
The name field will dynamically update to display either Facility Name or Estate Name based on the selected category. Enter a clear and descriptive name for the management entity as you want it to appear on your dashboard. This ensures easy identification and effective management within the platform.
Use a specific name that reflects the property’s true identity such as its official name, type, or a unique identifier, to avoid confusion when handling multiple properties.
Examples: “Kolapo Ishola GRA” or “Ikoyi Plaza.”

State Selection Overview
Choose the state where your management is located. This selection determines the available options for the Local Government Area (LGA) dropdown, helping to narrow down the exact administrative region. It also influences the City/Area choices, ensuring accurate location details for your property. Selecting the correct state is essential for precise property classification and management within the platform.
Street Name/Number Overview
Enter the specific street name and number where the property is located. Providing accurate street details helps pinpoint the exact location of your property, making it easier for tenants and clients to find. Please do not include local government, city, or area names in this field, and avoid using spaces or special characters to ensure proper formatting and system compatibility.
Branch Selection Overview
A management cannot be created without assigning it to a branch. Select the appropriate branch or office location that fits your management structure. This helps organize properties based on operational zones, teams, or geographic regions.
If your company oversees multiple properties across different branches or cities, assigning the correct branch ensures accurate reporting, task management, and staff accountability.
To create or manage branches, go to Management > Staff & Branches.
Account Manager Overview
Assign an Account Manager responsible for overseeing the financial and operational activities of the management. This person will serve as the main point of contact for income tracking, expense approvals, and day-to-day property oversight.
Choosing the right Account Manager ensures accountability and organized reporting within your team. The selected individual should already exist in your system under Management > Staff & Branches. Assigning them here links their responsibilities directly to this property for streamlined communication and performance tracking.
Staff Assignment Overview
Select the staff members who will be actively involved in managing this property. These individuals can include property supervisors, maintenance personnel, field agents, or any other team members responsible for the property’s daily operations.
Assigning staff helps streamline task delegation, communication, and accountability. It ensures that the right team is connected to the right property, making follow-ups, reporting, and on-ground activities more efficient. Staff must already be added under Management > Staff & Branches to appear in this list.
Description Overview
This field is optional. Provide a concise, clear description of the property that highlights its key features, layout, and amenities. If you’d like, leverage our AI content generator to draft a description or use the AI content editor – access these tools via the last two icons on the left within the description inputto refine your existing text.
Management Fee Overview
Enter the percentage of the agency fee charged for managing the property. This fee covers services provided by your agency, including its management and facilitation.
Currency Selection Overview
Select the default currency to be used for managing this property’s financial transactions on the platform. This setting determines how fees, and other charges are displayed and calculated throughout the system. Available Options: Naira (₦), Dollar ($) and Pounds (£).
Group Chat Option
Enable or disable the Group Chat feature to allow tenants, occupants, or property management teams to communicate collectively within the platform.
Yes: Automatically create a group chat including everyone assigned to the property, making collaboration and discussions easy and efficient.
No: Disable group chat to restrict communication to individual or private messages only.
Fee Penalty Option
Enable or disable fee penalty charges for late renewal payments within the platform.
Yes: Activate fee penalty to automatically apply fees when tenants or occupants pay rent past the due date, encouraging timely payments.
No: Disable fee penalty if you do not want to charge late fees for overdue rent payments.
Request Call Back Option
Choose whether to enable or disable the “Request Call Back” feature for occupants, or prospects.
Yes: Allow users to request a call back directly from the property interface. This helps streamline communication and ensures prompt follow-up by your team.
No: Disable the call back option if you prefer to manage all communications through other channels or do not offer this service.

Book Visitors Option
Turn the Book Visitors feature on or off to manage how visitor access is handled for the property. This option is ideal for properties located within gated estates, communities, or facilities that require visitor authorization for entry.
Yes: Allow tenants or occupants to pre-book and manage visitor access directly from the platform. This enhances security, ensures proper visitor tracking, and streamlines entry processes.
No: Disable this feature if visitor management is not necessary or is handled manually at the property.
Vehicle Records Option
Enable or disable the Vehicle Records feature to manage and keep track of vehicles associated with occupants within the property.
Yes: Activate this feature to allow the recording of vehicle details (such as plate numbers, type, and ownership). Useful for properties with gated access, parking management, or security tracking.
No: Disable this option if vehicle records are not required or are managed outside the platform.

Activate 7.5% VAT Option
Enable or disable the automatic application of 7.5% Value Added Tax (VAT) to applicable rent or service charges within the property.
Yes: Apply 7.5% VAT to all relevant property transactions. This is useful for properties or agencies required to charge VAT for legal or accounting compliance.
No: Exclude VAT from charges if it is not applicable to your property management operations.
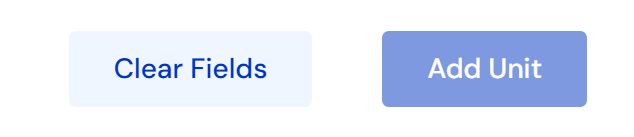
Action Button Overview
The Clear Field button resets all fields on the form, deleting any data you’ve entered so far.
The Add Unit button finalizes the creation of the property record and redirects you to the next page where you can begin adding units under that property.
Note: A property must have at least one unit to be published. Properties created without units will be saved as pending and can be found under Listing > Property Draft/Request.

Progress Bar Overview
The progress bar offers a clear, step-by-step visual guide to track your progress as you create units. It highlights each required section and shows how much you’ve completed, helping you stay organized and on track throughout the entire unit setup process.
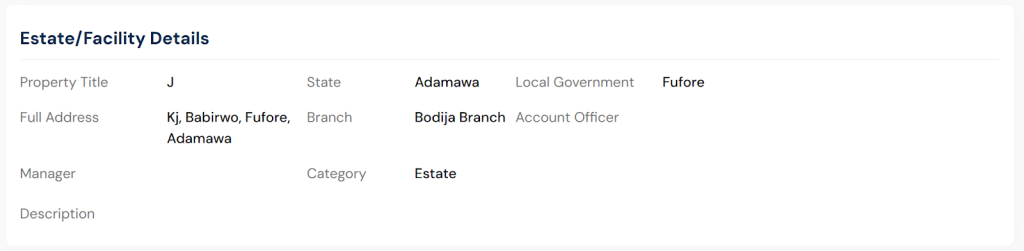
Property Details Overview
Preview how your property is currently displayed and managed on your dashboard. If the shown details don’t match your management preferences, click the Back button to customize and update the property information to better fit your workflow.

Settings Card
Check and verify the essential information about your property, such as its location, type, size, and features. If you notice any details that need correction or updating, simply click the edit button to make the necessary changes.
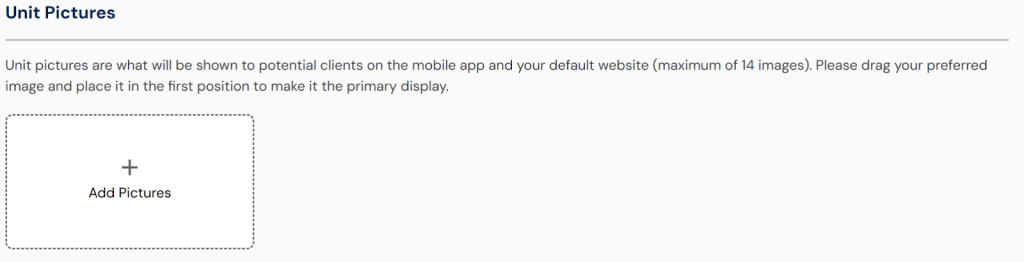
Unit Picture Overview
Upload clear, high-quality images to visually represent the unit. While this step is optional, adding photos enhances your listing’s appeal. You can drag and drop your preferred image to the first position to set it as the default display image.
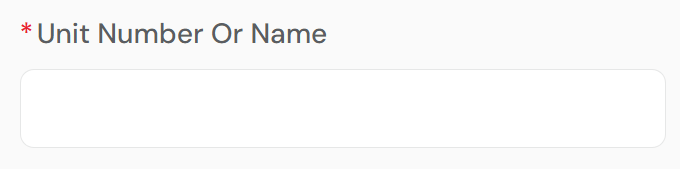
Unit Name Overview
Enter a clear and descriptive name for the property unit as you want it to appear on your dashboard. This makes it easier to identify and manage each unit within the platform. Use a specific name that reflects the unit’s identity, such as a house number, suite number, or unique identifier; for example, “House 8 Road 2” or “Office 2 Block U.” When creating multiple units at once, the initial unit name will be auto-generated with a serial count added to each additional unit for easy differentiation.
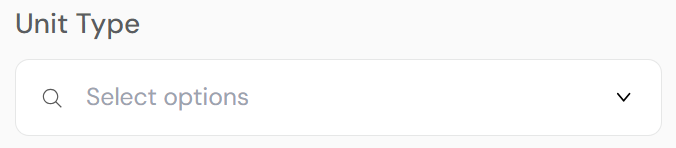
Unit Type Overview
Choose the primary classification that best describes the unit you are creating. Your selection will determine the available options in the Unit Sub-Type dropdown, allowing you to further define the unit’s specific characteristics.
Selecting the correct Unit Type ensures proper categorization and streamlines the management process, helping you keep your property records organized and tailored to your needs.
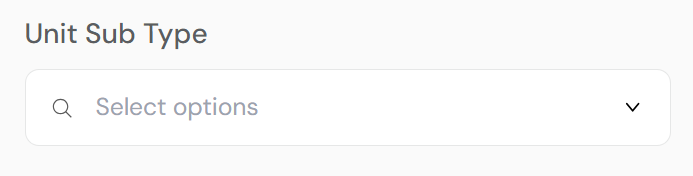
Unit Sub-Type Overview
After selecting the Unit Type, choose the Unit Sub-Type that best describes the specific style or layout of the unit. This helps further define the unit’s features and differentiates it within its main category.
Accurately selecting the Unit Sub-Type improves property classification and supports more precise management.
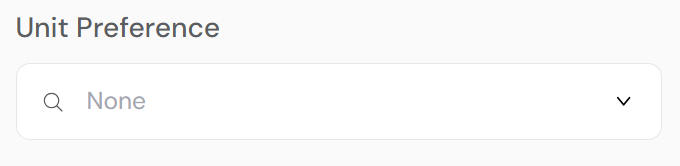
Unit preferences Overview
This dynamic dropdown menu lets you select specific features of the unit based on the previously chosen Property Type and Unit Sub-Type. The available options adjust automatically to reflect relevant characteristics, ensuring that only applicable features are shown.
Choosing the right unit features helps provide detailed information about the unit, improving listing accuracy and enhancing tenant or occupant matching for effective property management.
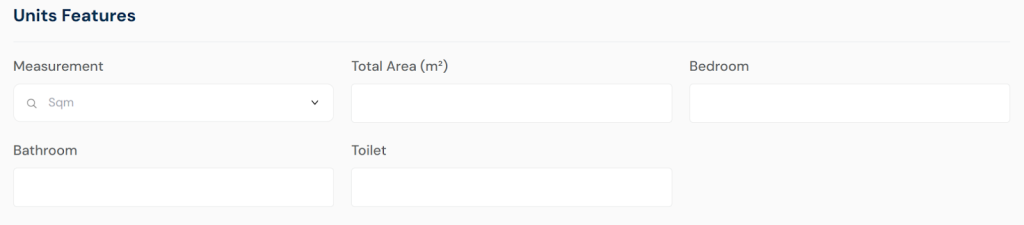
Unit Feature: Measurement
They are optional, enter the exact measurements of the unit’s land size to provide an accurate representation of its area. This may include dimensions such as square footage, square meters, or total land size depending on the selected unit type and subtype.
Precise measurement details are crucial for tenant assessment, pricing decisions, and effective space management. Use this feature to ensure all size-related information is accurately recorded and readily available.
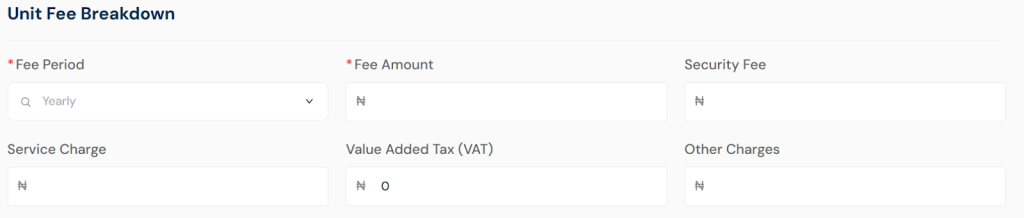
Unit Fee
This section details the complete breakdown of fees and charges applicable to the occupant assigned into the unit. It includes fees, security deposits, agency fees, maintenance charges, and any other relevant costs.
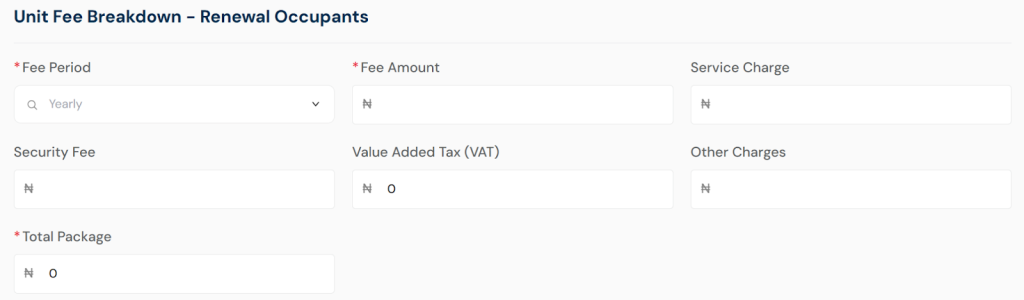
Unit Fee Renewal
This section outlines the detailed breakdown of fees and charges applicable when an occupant renews their stay for the unit.
Providing a clear fee breakdown during renewal helps maintain transparency, ensures occupants understand their financial obligations, and supports accurate financial tracking for continued property management.

Action Button Overview
The Add More Units button lets you duplicate the current unit’s information to quickly create multiple similar units. If you select “Yes” after clicking this button, the system will copy the filled form data for the number of units you want to add. Use this feature only when the new units share similar details with the current one.
If the units you want to add are different, select “No” to receive a fresh input form for each new unit.
The Save button finalizes the creation of the property and its units, then redirects you to the property page. From there, you can edit, add more units, or delete data as needed.
Note: All required fields must be properly completed to enable adding more units.


